In our last post, we listed out multiple reasons why you should leverage the use of SmartAPI; if you have not read that post, you can read it here to get a better idea of the power of SmartAPI. Considering now that you know what offerings are there, you will be curious about how you can get started yourself, right? I am sure you will be. This blog will show you how to generate an API Key using the SmartAPI registration Page in a step-by-step format. In the end, we will also show you how to install Python on your systems. Now some people may ask SmartAPI is offered in 7 languages, then why only Python in this article? This is based on the feedback from our forums and our API users. Python is one of the most popular programming languages out there because of its flexibility and easy-to-read syntax. If you would like us to cover the steps for other languages, please let us know in the responses below.
Generating SmartAPI Key
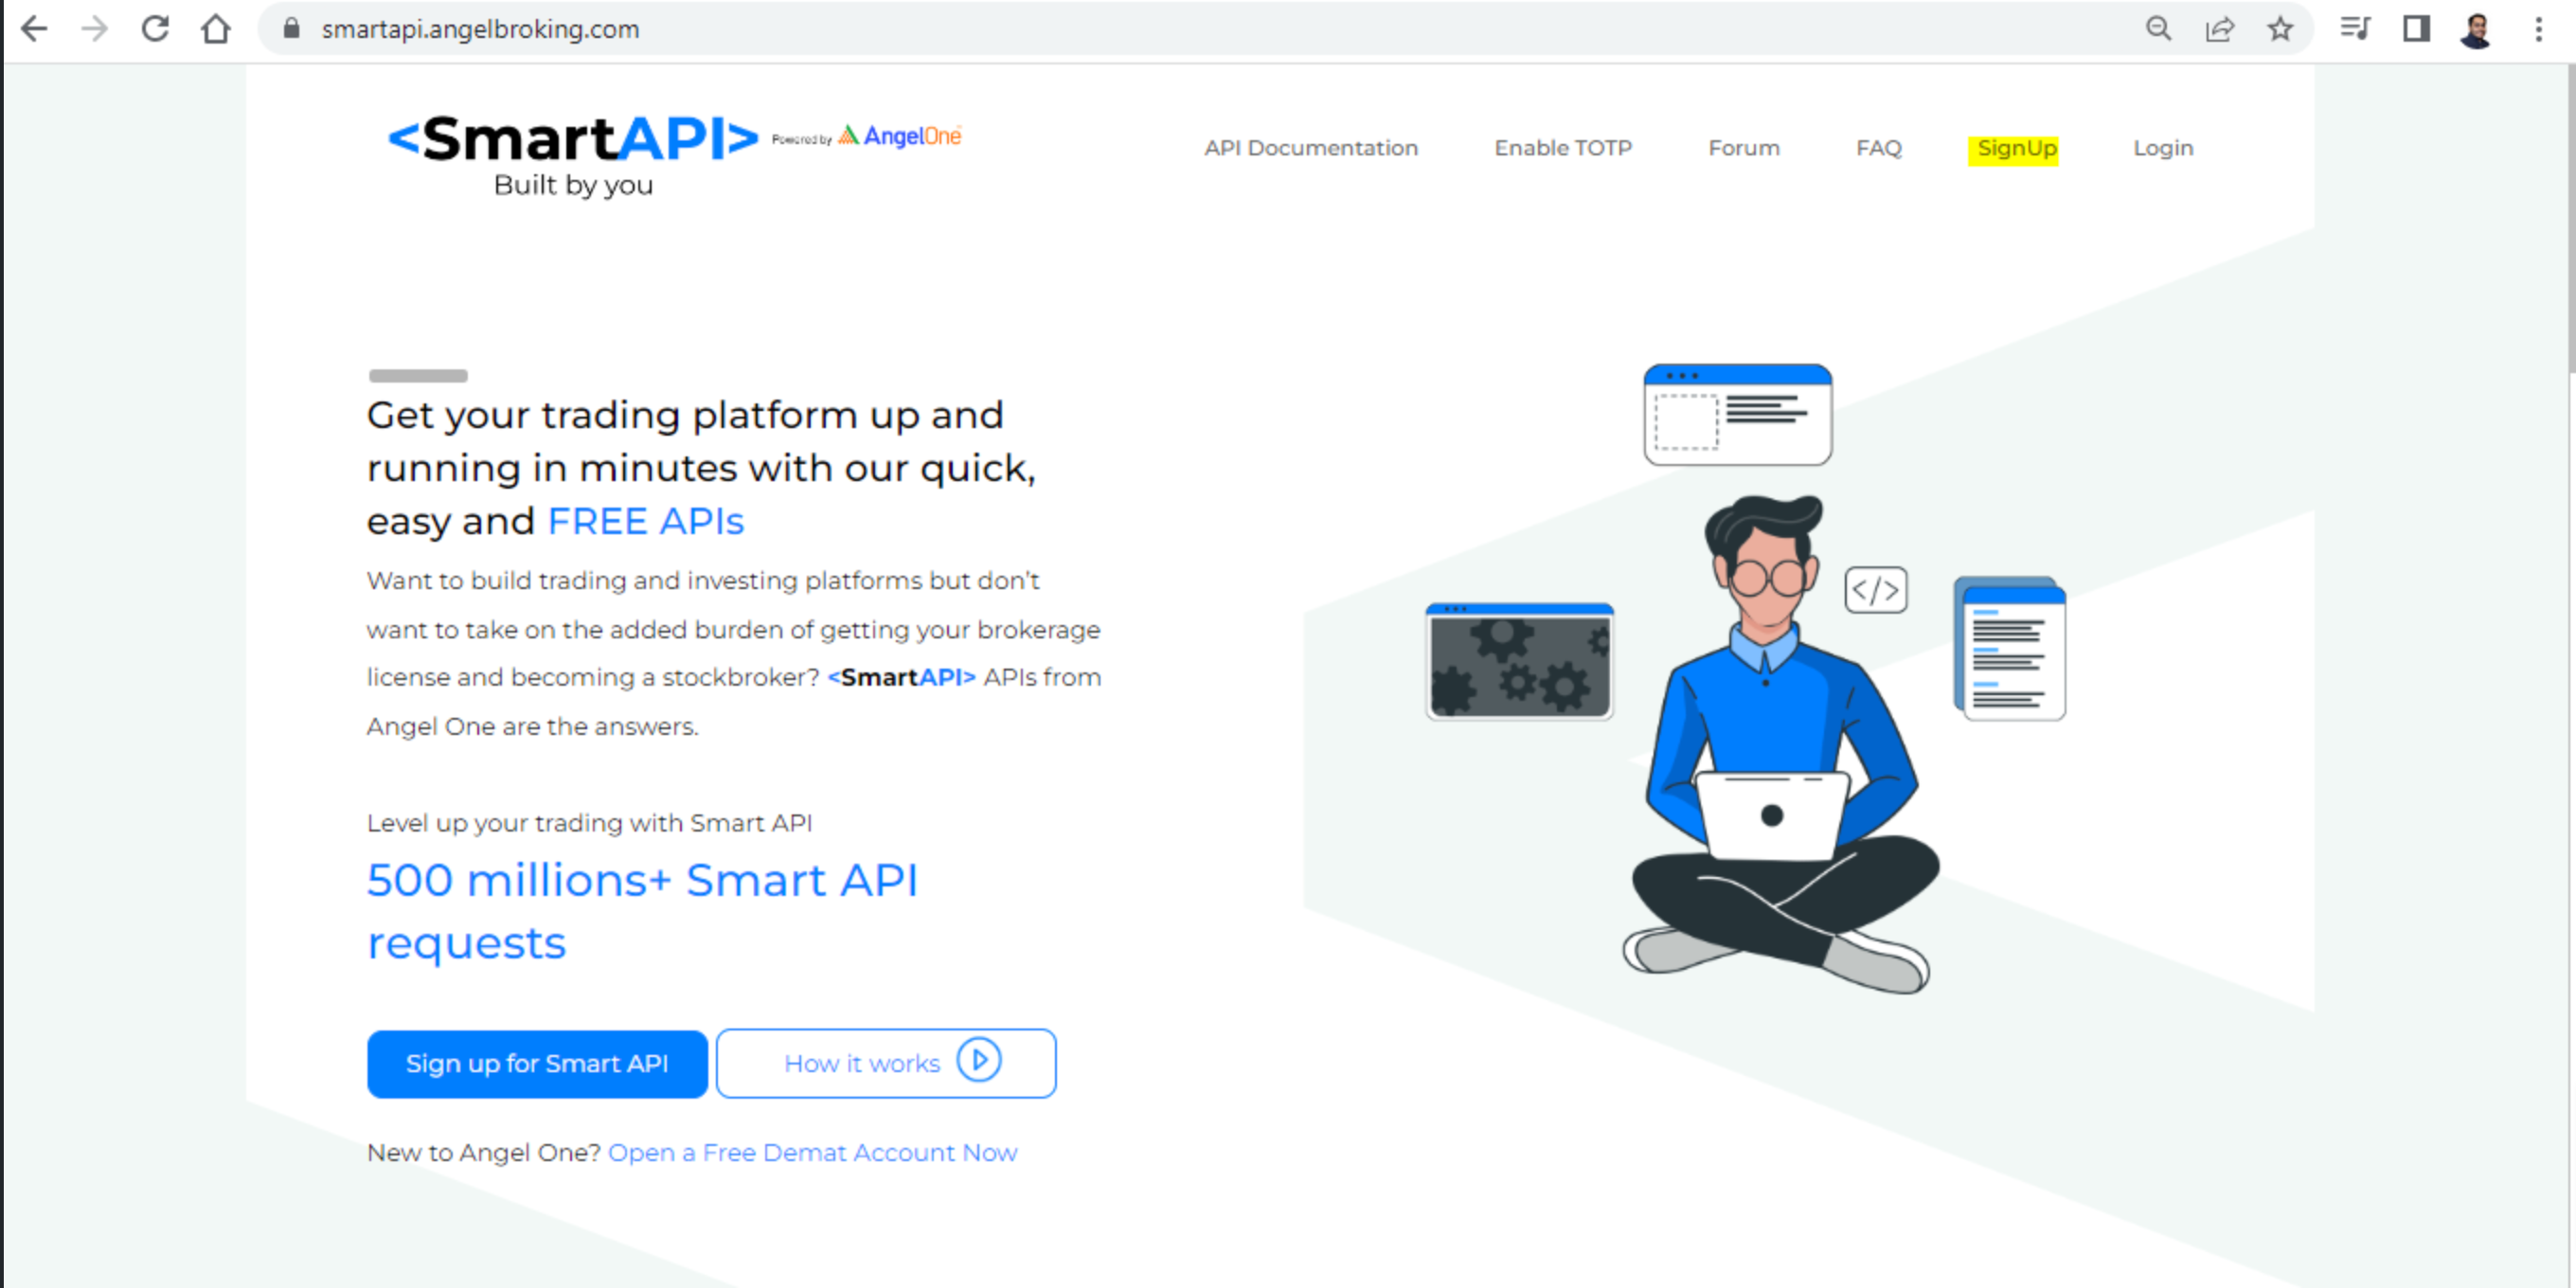
Step 1. Go to https://smartapi.angelbroking.com/
Step 3. Enter the necessary details; entering the Angel Client ID is not necessary for this step.

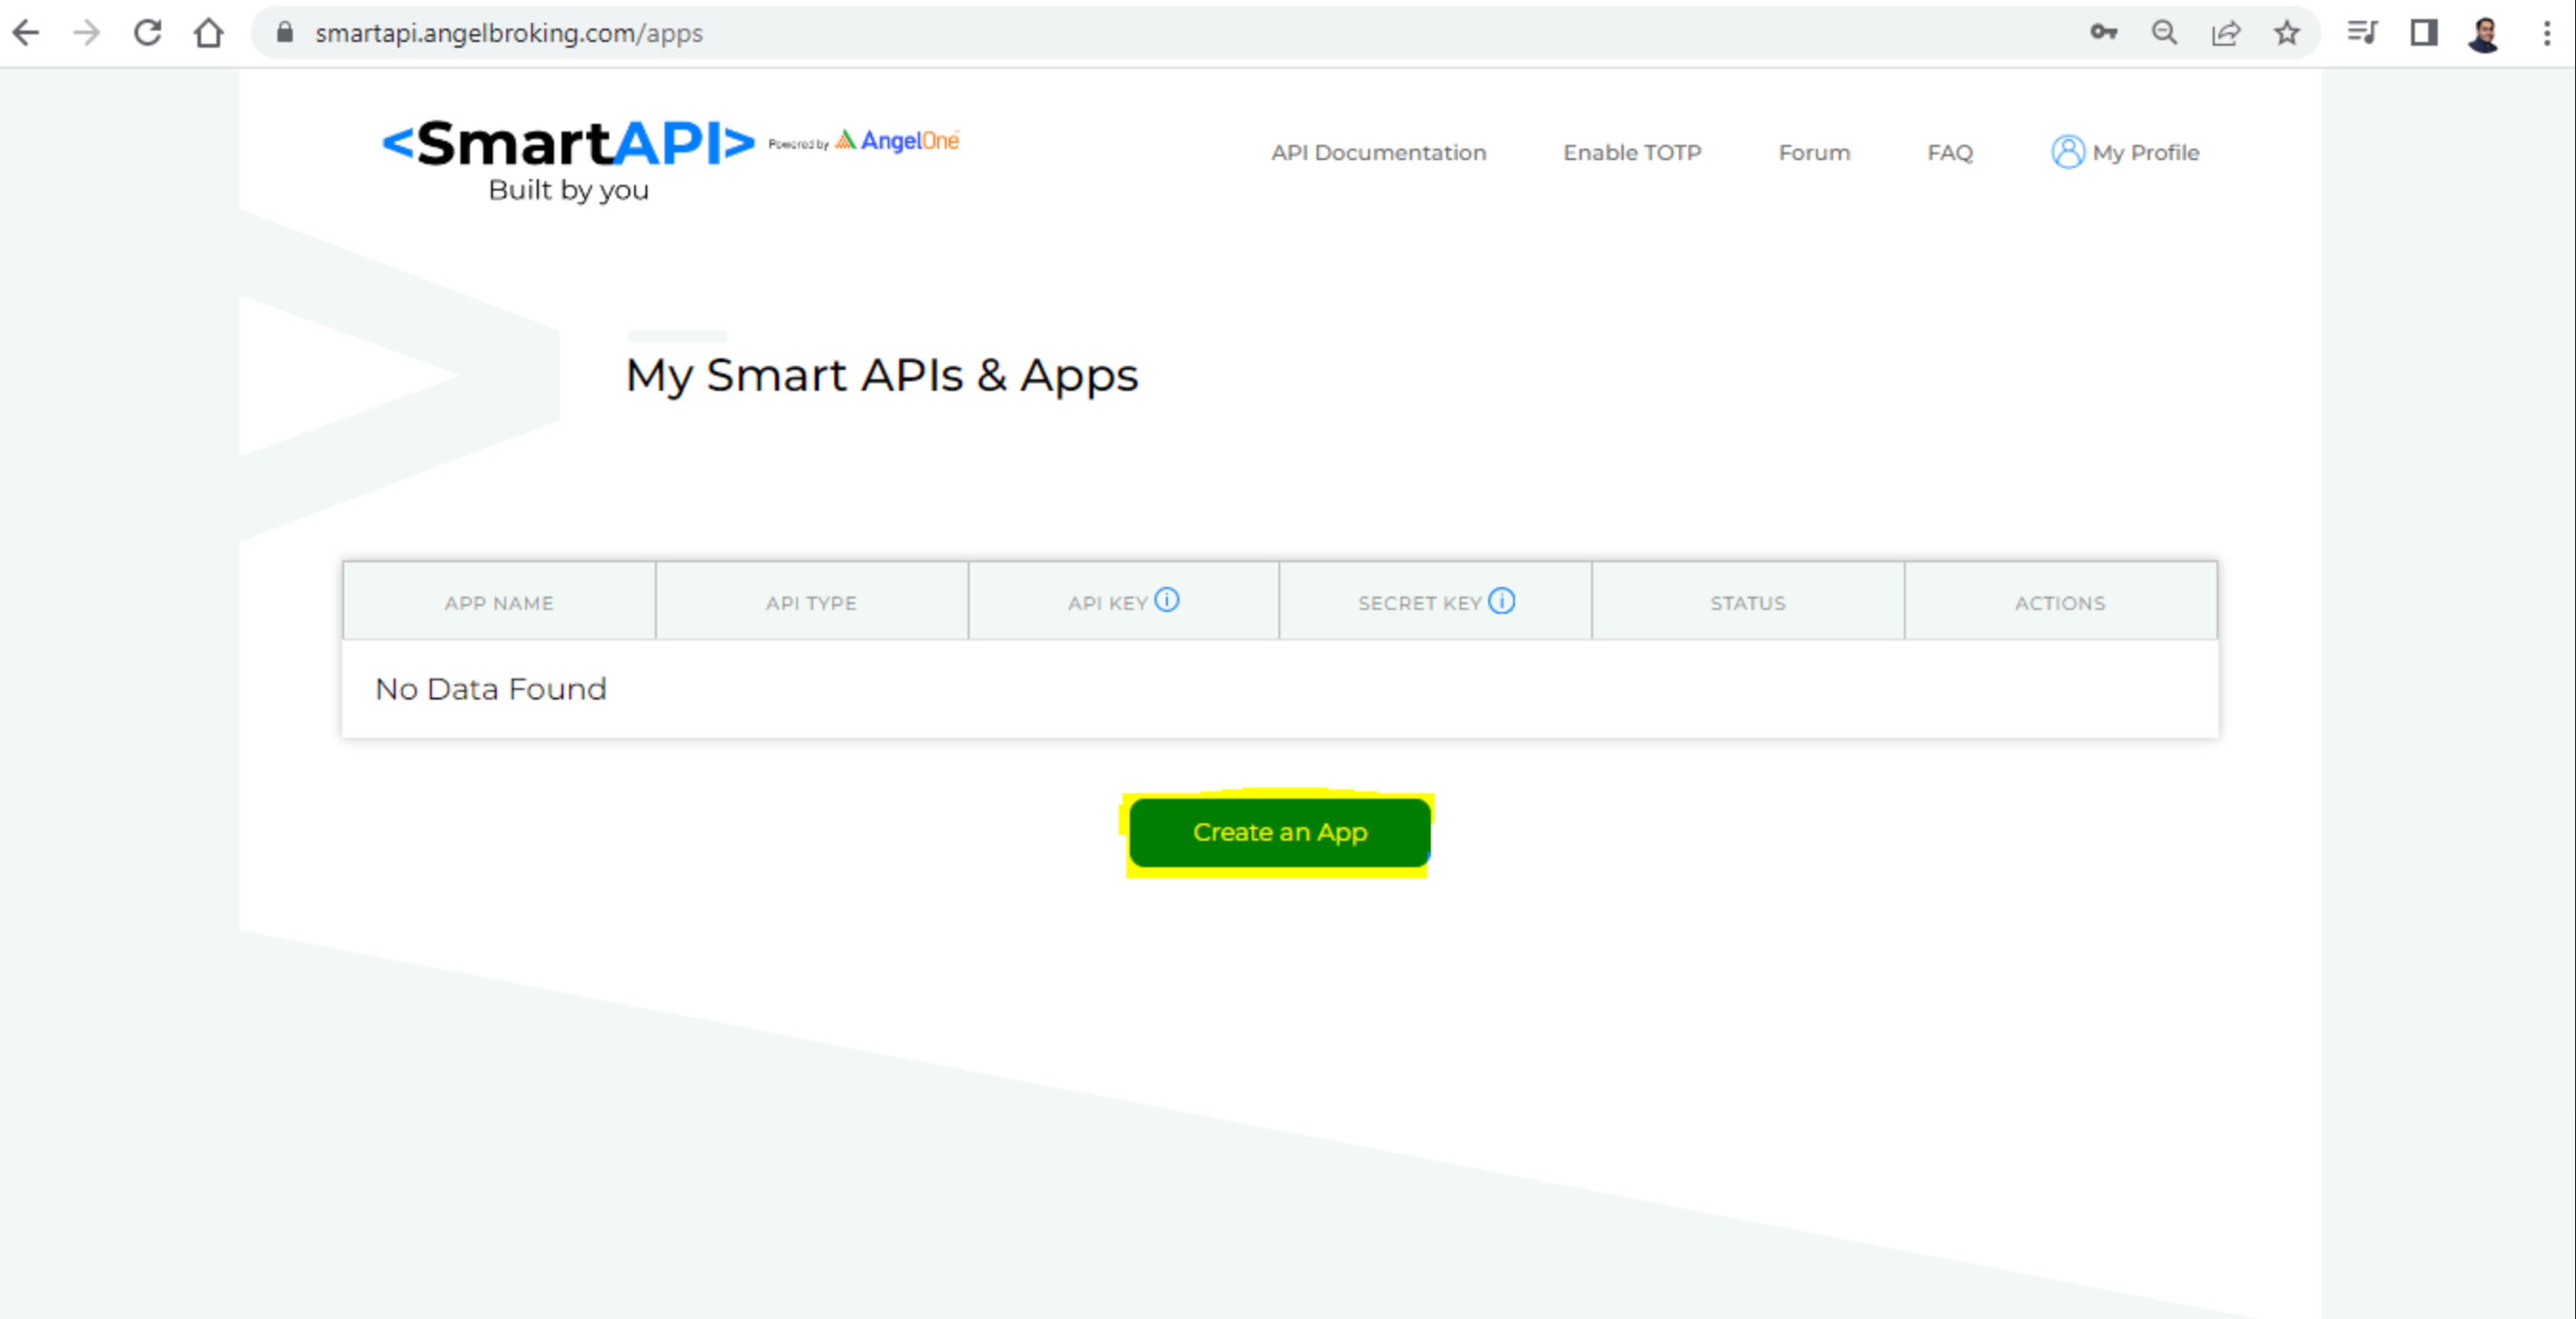
Step 4. Once you have registered successfully, you will get an option to "Create an App"
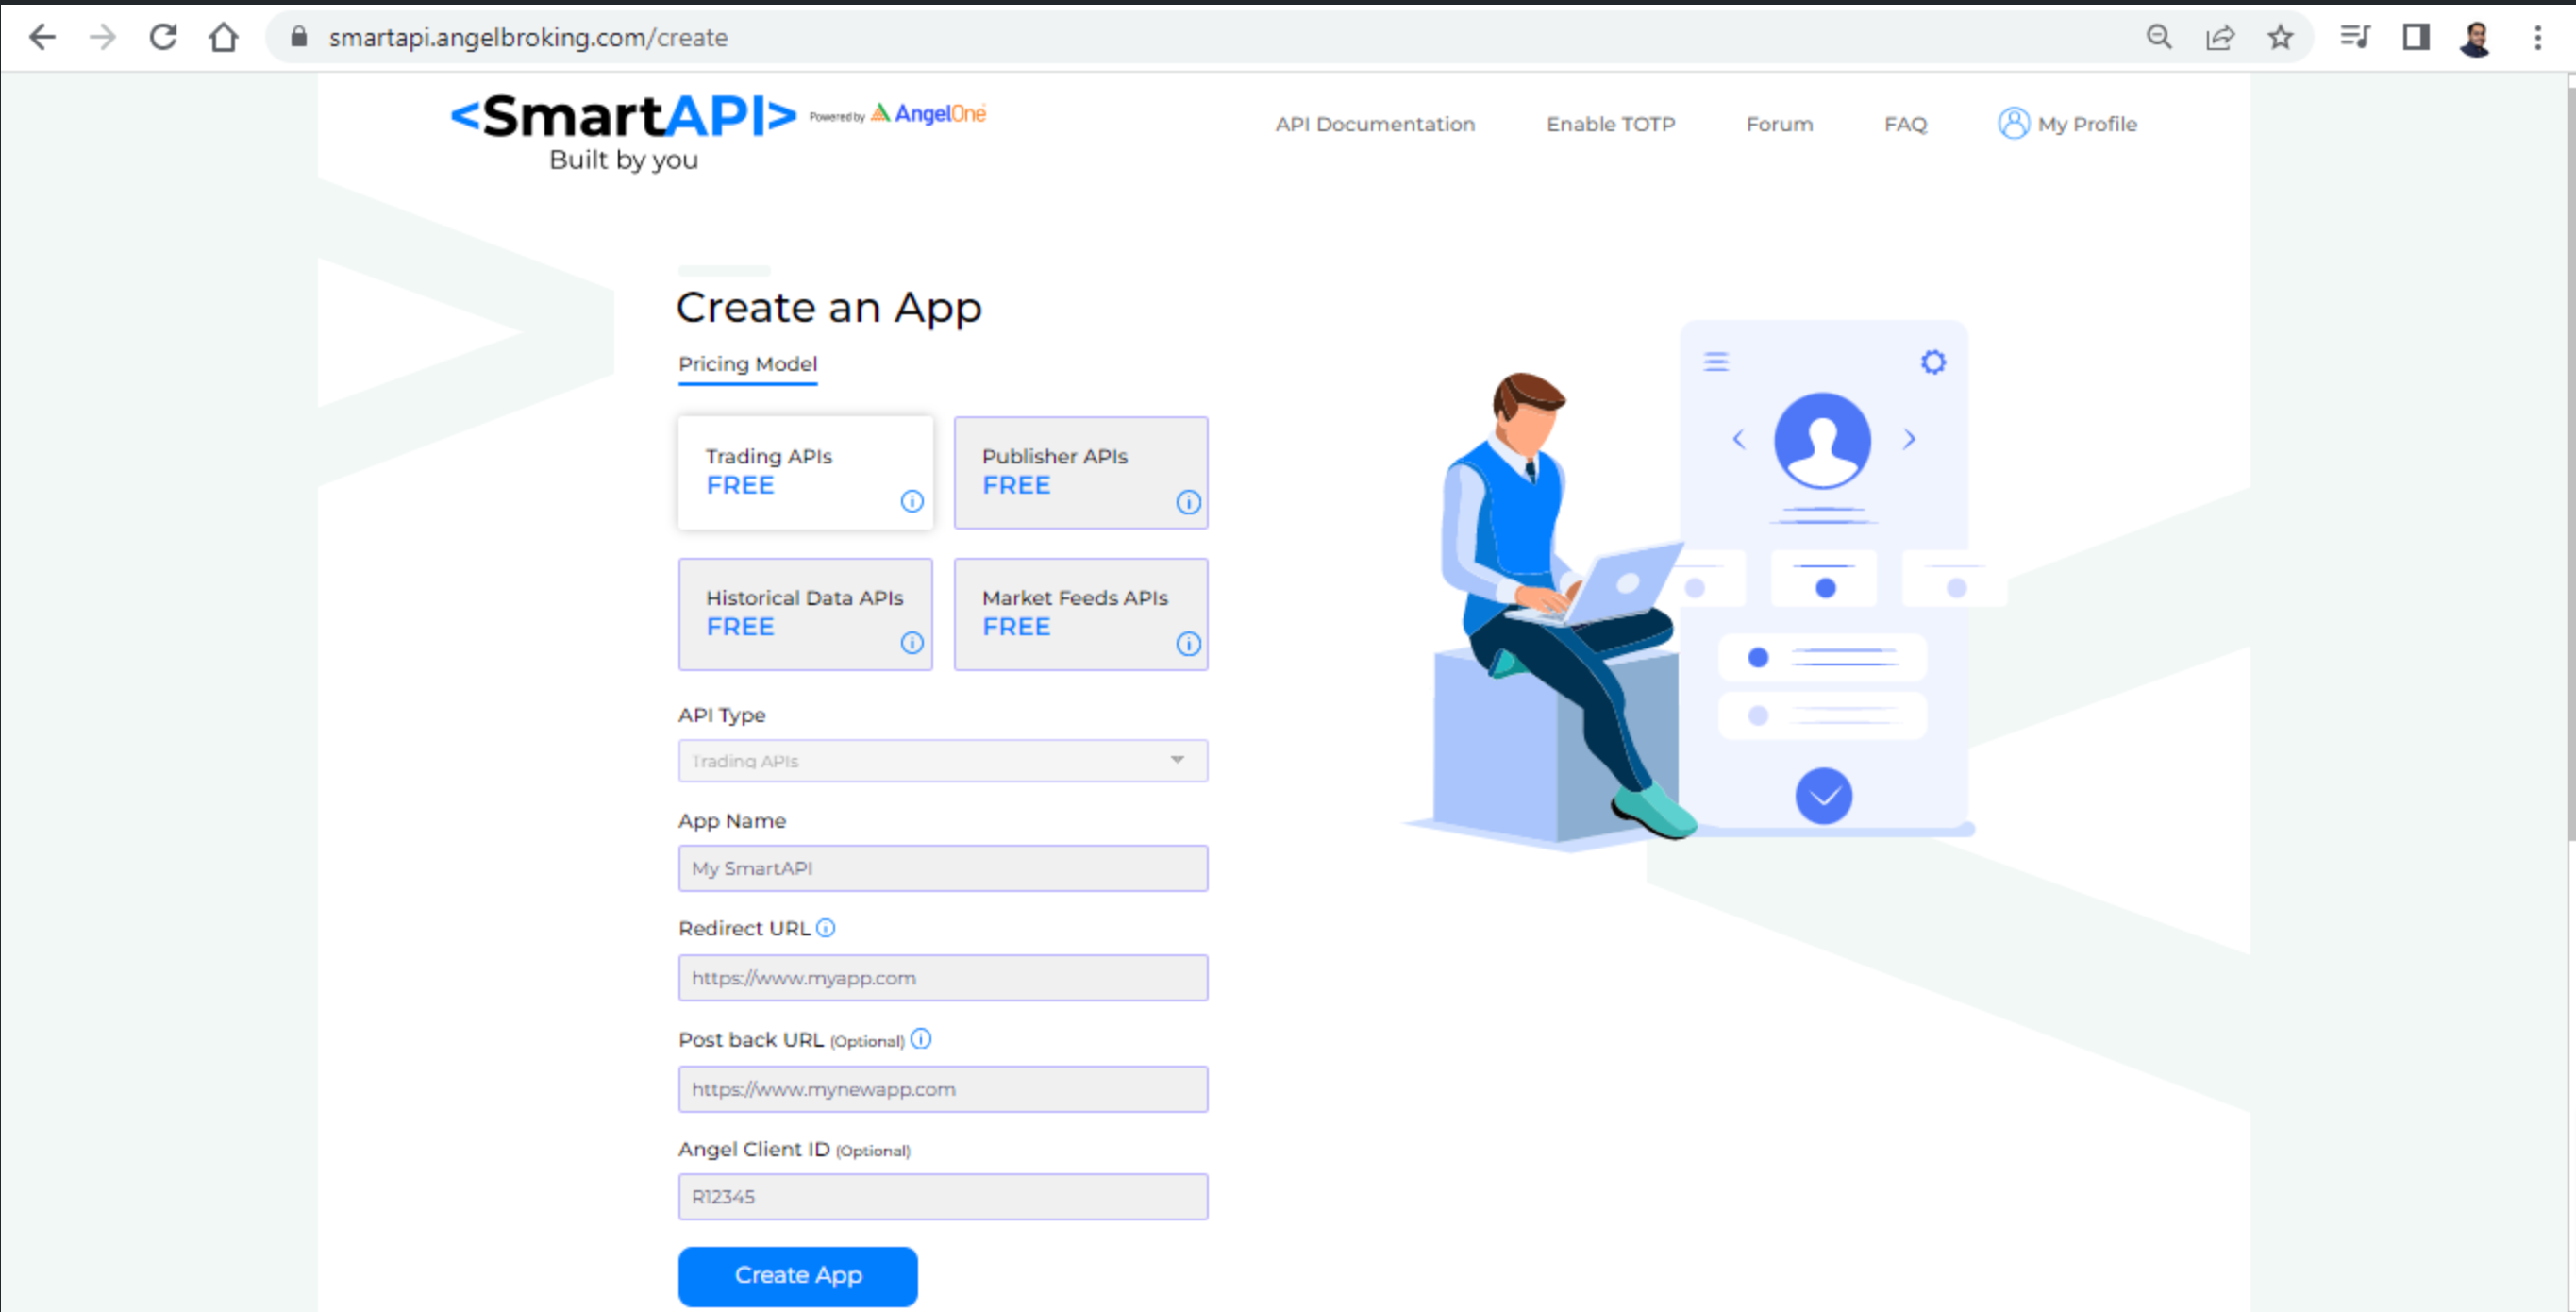
Step 5. You will have 4 options to select from; we will select Trading APIs for demonstration purposes.
-
App Name: You can give your API any name; the name is displayed to the end-user if you create Publisher buttons.
-
Redirect URL: This URL will receive your Access Tokens when you make a Login request to the SmartAPIs; for simplicity purposes, we recommend you to use http://127.0.0.1, which will serve the purpose.
-
Postback URL: This is the URL where you can receive order status for the orders you have placed via APIs; this is an optional field and is generally used by someone creating web apps and wants to show the end-user the order status updates.
-
Angel Client ID: Again, an optional field; if you have a client ID, you can enter this or leave it blank. Note to actually use the SmartAPI; you need to have an Angel One account.
Installing Python on Your Machine
There are various installations of Python available on the Internet. If you do a simple "How to Install Python", I am sure that it will confuse you even more given the wide variety of articles. But wait, which method works best for a retail investor or someone who wants to get into large data analysis to take stock trading decisions?
The Anaconda Distribution comes to the rescue. Our preferred choice of Python is Anaconda because it comes with many pre-installed libraries like pandas, numpy, and matplotlib, all of which are essential to run strategies and do data analysis. We will be using these libraries heavily in the next articles. One can argue that they can install these libraries manually, which is absolutely true. Still, there is also sufficient evidence that Python installed via Anaconda Distribution works faster than your regular Python. PythonSpeed posted an article about this.
So let's get into how the installation will work; we will be covering the Windows installation in this article; if you would like us to cover macOS, Linux, or any other OS, please let us know your interest in responses. I hope you are excited to write your first piece of code. 😃
Step 1: Download the Anaconda Distribution File From the Website.
-
You can visit the Anaconda downloads page here.
-
Scroll to the very bottom of the page until you see Anaconda Installers.

-
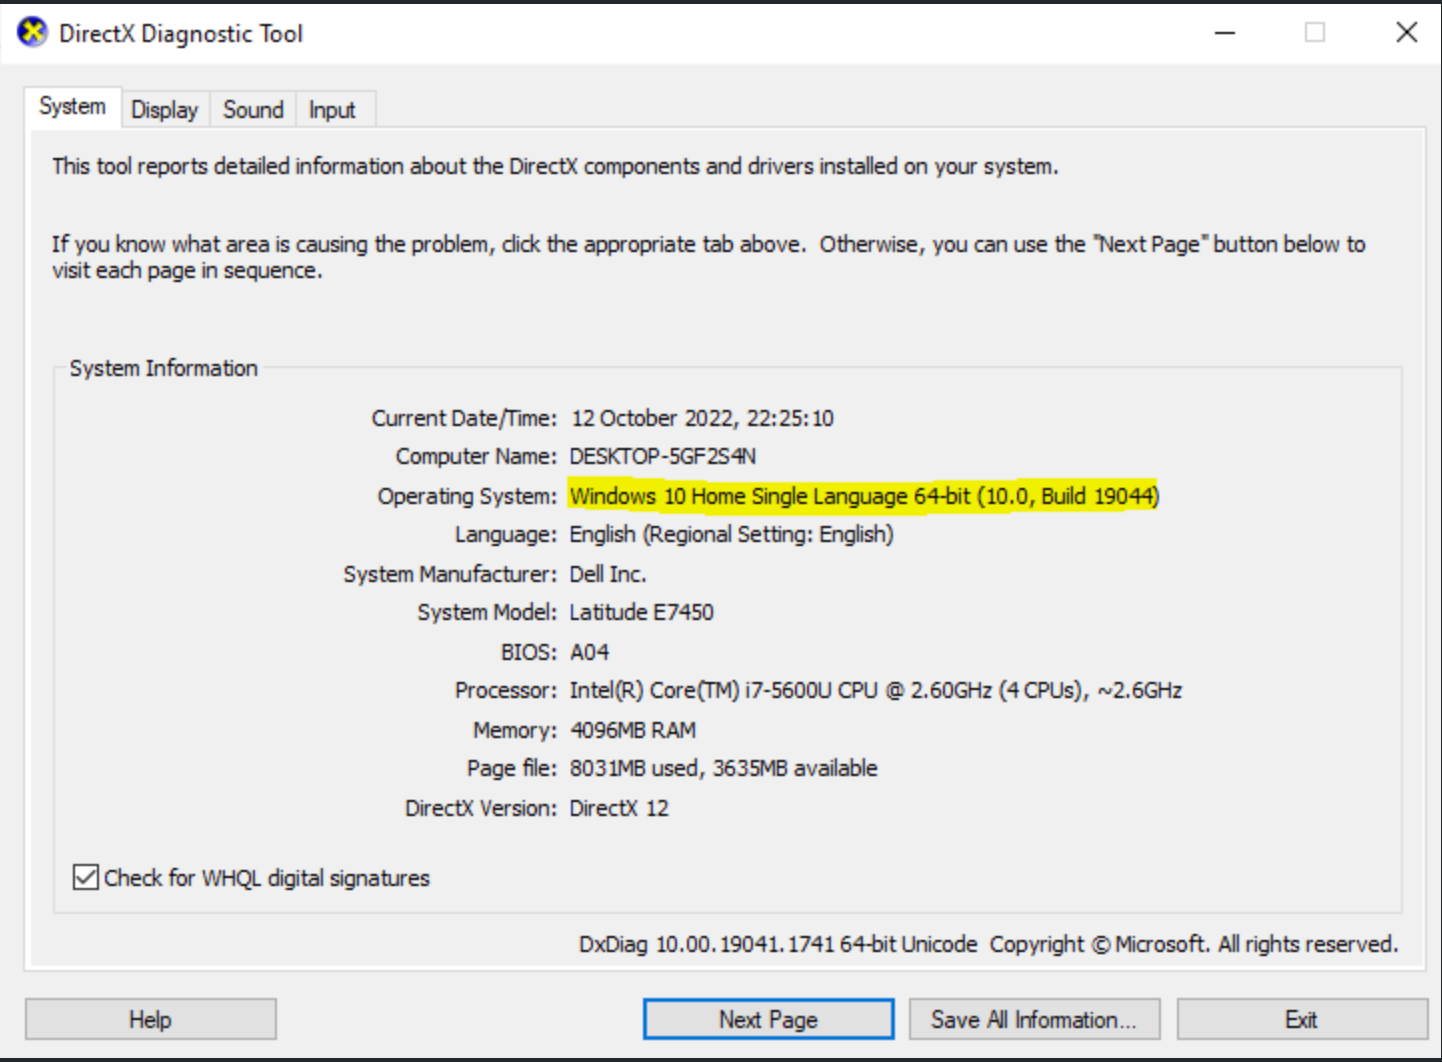
Depending on your machine, download the 32-bit or 64-bit version; if you are unsure which version you have, enter dxdiag in the Windows Start Search and press enter. If you are opening this for the first time, you might get a confirmation popup, just select yes. You should get a screen like below, which will give you the information.
Step 2: Install the Downloaded File On Your Machine.
-
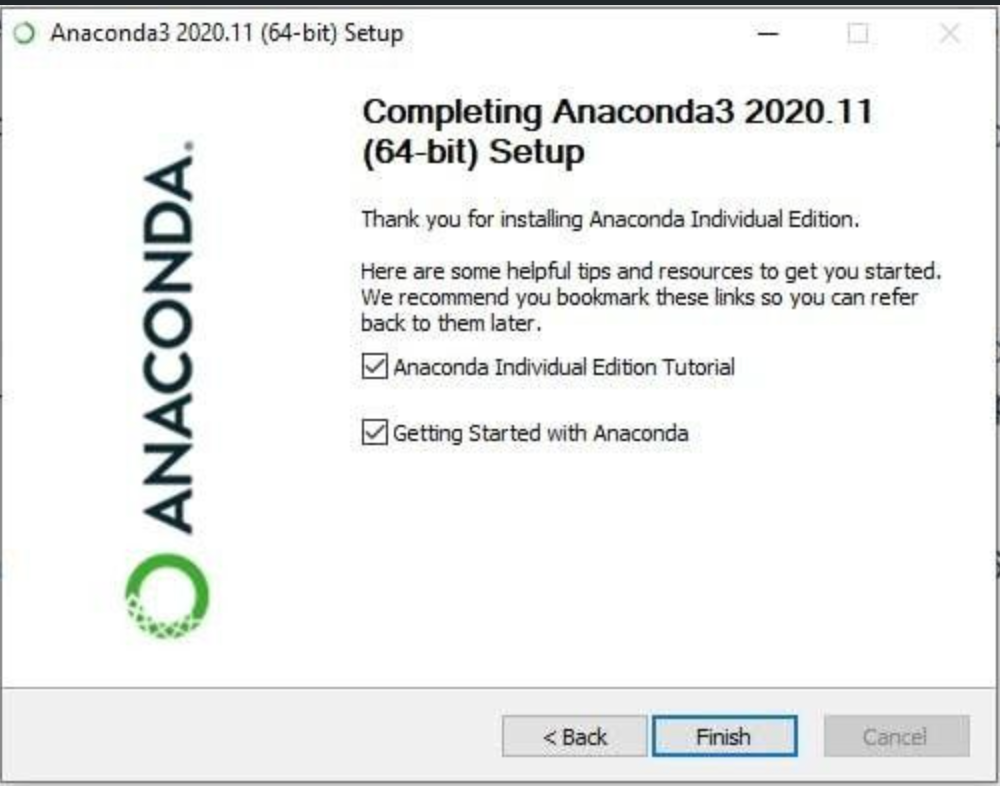
Run the downloaded Anaconda3-2020.11-Windows-x86_64.exe file and go ahead with all the default options, and you will see the installation start automatically. It should only take a couple of minutes to complete. (Note, depending on when you are downloading the file, the version numbers might change, so don't get confused if the file names are not matching)

Step 3: Verifying the Python Installation.
-
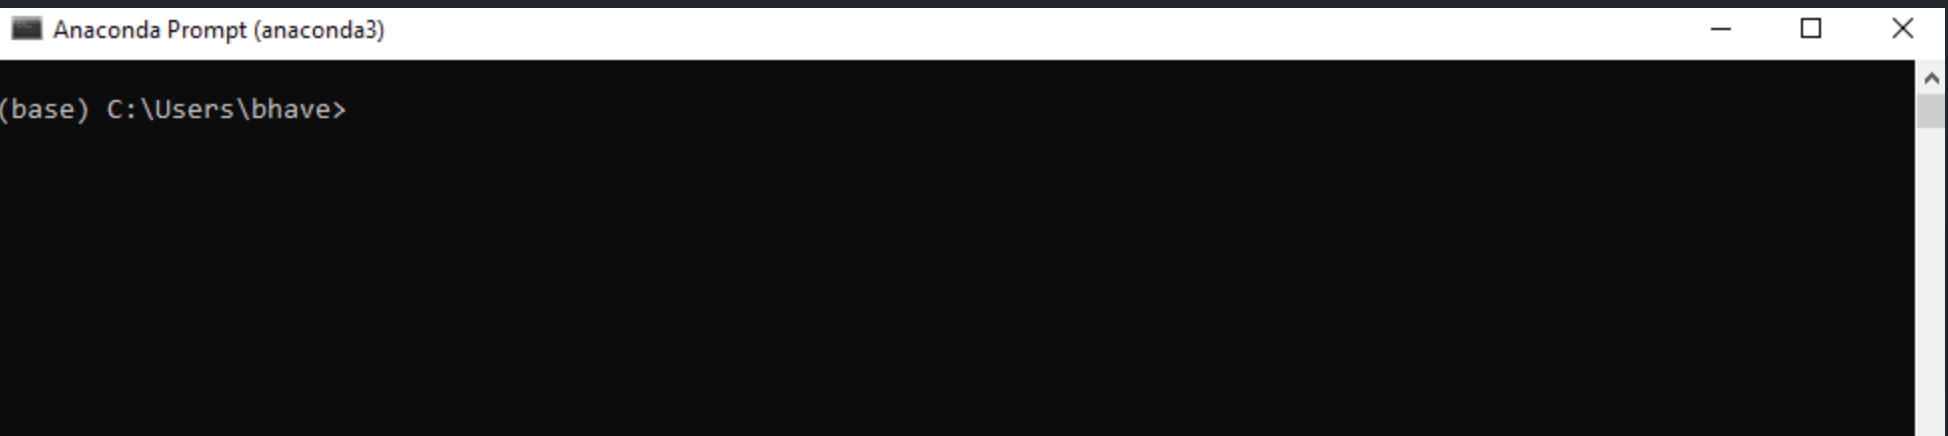
Go to your Windows Search Bar and enter anaconda, and select Anaconda Prompt (anaconda3)
-
You should see a black dialog box appear, which looks something like the one below.
-
Type in python in the black box, and if your installation did not have any problems, you would see the Python version installed on your system. In my case, it is Python 3.9.12.

Step 4: Writing Your First Python Program.
This is the most exciting part, right; this is your first step towards rule based trading. You are destined to go only upwards from here.
-
Enter the below code in the anaconda prompt box, showing the Python version in Step 3 above.
print("Hello World") -
The program should also say you Hello World in return. If it does, amazing!! You just wrote your first line of code to print some text into the black box (console)

And that's all for this article; in the next one, we will walk you around the SmartAPI Forum and the Documentation and show you how to install the SmartAPI Python client into the installation we have just done.
At Angel One, we are committed to helping you in the learning journey to become a better rules-based trader. If you have any valuable suggestions for us to improve, please post them in the responses below or on the SmartAPI Forum.
Disclaimer: 'Investments in securities market are subject to market risk, read all the related documents carefully before investing.’
